

Teaching energy conservation laws to high school chemistry students… hmmm… where do I begin with this topic?
When I say “enthalpy” and “entropy,” what comes to mind for you as a chemistry teacher? Angst? Anxiety? Dread?
Let's be honest here...
As a chemistry teacher, I’ve had a love-hate relationship with the energy conservation laws for many years.
On the one hand, knowing about enthalpy and entropy and why reactions occur is fundamental in chemistry. It undergirds all the reactions we will see in the school year, and students must be comfortable with how energy flows in a system.
On the other hand, if the math calculations aren’t taught in just the right way, you will lose kids instantly over these topics. And I don’t know about you, but spending two weeks delicately phrasing the math of enthalpy and entropy- providing just the right scaffolds at all times- and pretty soon, you’ll start feeling like you’re swimming through peanut butter!
Yes, enthalpy and entropy are super helpful topics for students to learn in chemistry- but if taught incorrectly… it can make for a long, longgggggg few weeks for you as a teacher.

What I've learned as a teacher...
Because of its challenging nature, I just assumed my general chemistry classes could not handle enthalpy and entropy. So, for years, I kept it simple.
If students were able to define endothermic and exothermic reactions in class, that was good enough for me, and I was happy to call it a day.
That is… until about two years ago… when I suddenly hit a massive roadblock.
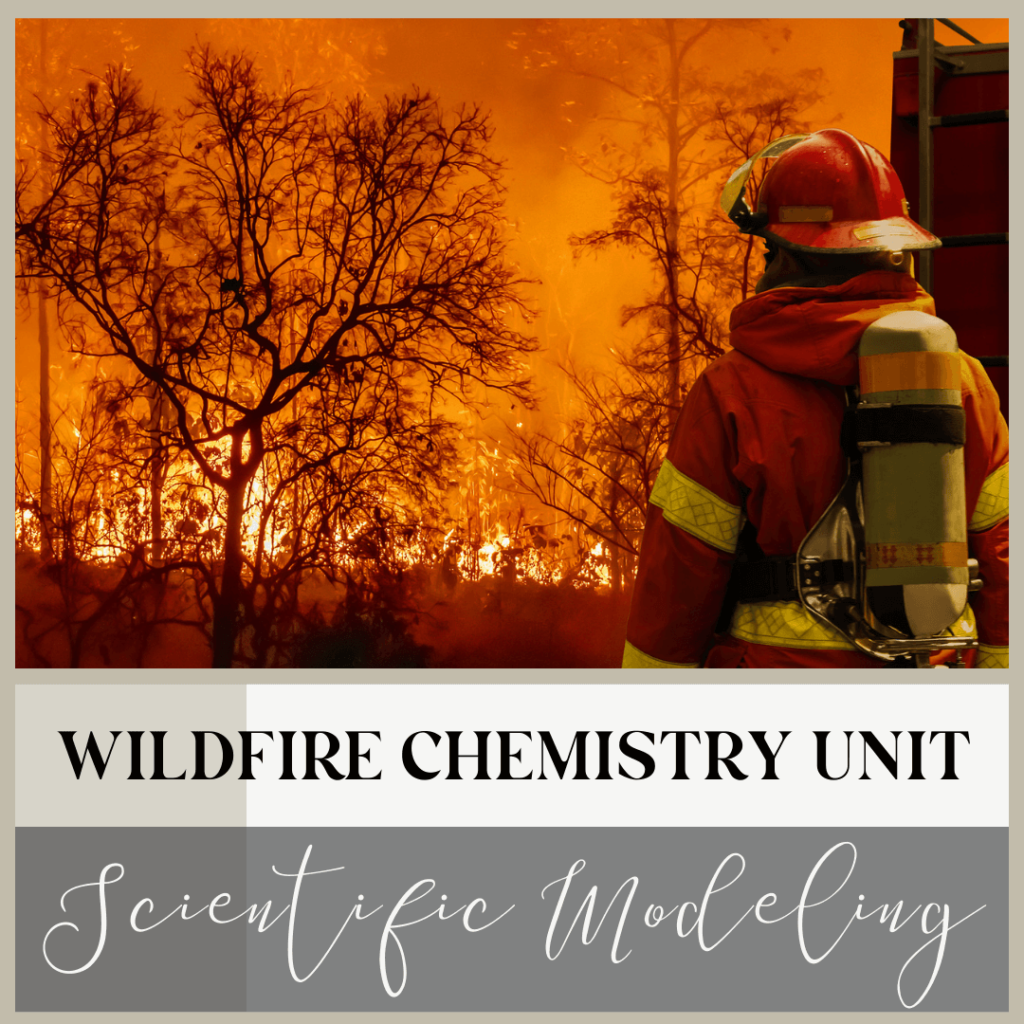
You see, a little while ago, I became interested in turning my chemistry units into storylines (if you’re curious, check out this blog post for more information). And the first storyline I wanted to tackle was, “Why do wildfires spread so quickly?”
So I was in a dilemma… either confront my love-hate relationship with enthalpy and entropy as a chemistry teacher… or find another phenomenon to study. Because, for better or worse, you cannot facilitate a storyline on wildfires without teaching about enthalpy and entropy. You can’t (believe me, I tried!)
So… I gave in…
I decided to teach not just the terms “enthalpy” and “entropy” to students… but also the dreaded math calculations…
And do you know what I discovered when I gave in?
To my astonishment, with the right scaffolds, students in my general chemistry classes did exceedingly well with enthalpy and entropy!
So much so that lessons on enthalpy and entropy have become a must for me at the beginning of the school year! The lessons immensely built up students’ confidence in chemical reactions and math. And now I couldn’t imagine teaching my first unit without these lessons!
So what tips and tricks have I found over the years to make teaching energy conservation laws smooth and carefree for you as a teacher AND also exciting and confidence-boosting for kids?

If I've piqued your interest, check out my top 3 teaching strategies below for rolling out enthalpy and entropy to students!
TIP #1: Make learning the energy conservation laws hands-on
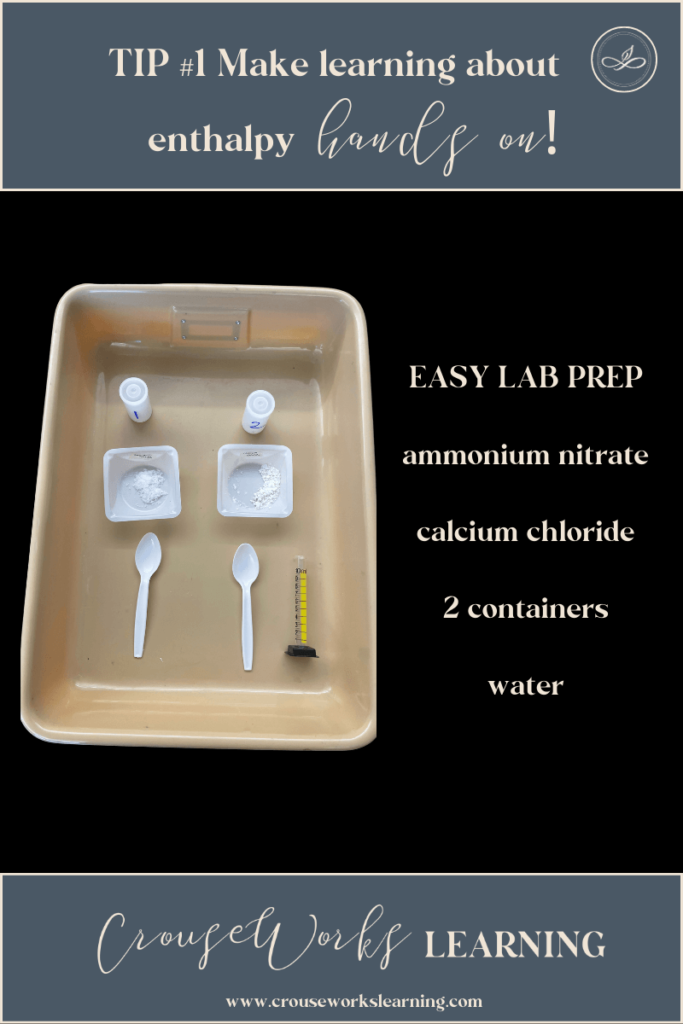
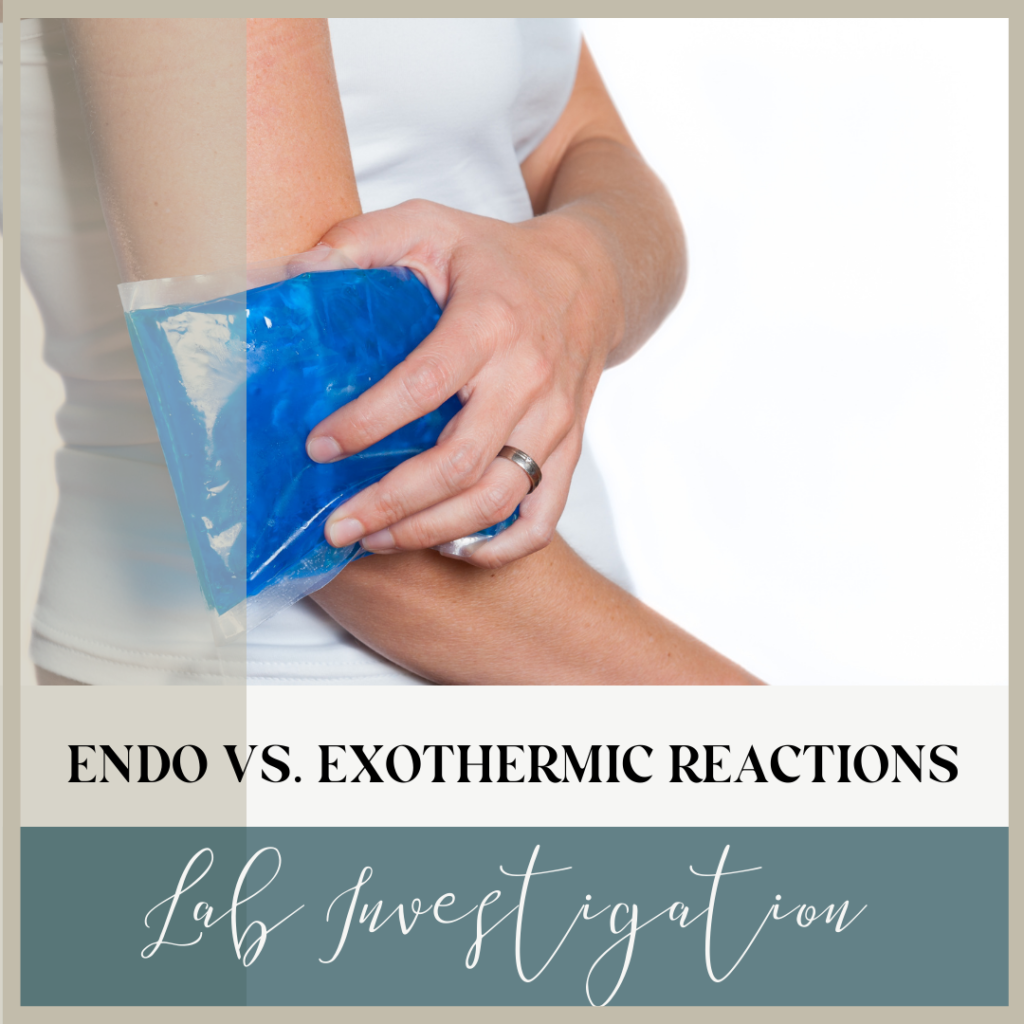
One of the first experiments I like to do when teaching energy conservation laws is to have students make hot and cold packs.
For this experiment, you only need calcium chloride, ammonium nitrate, water, and some film canisters (or plastic baggies). It is such an easy experiment!
Students create hot packs by mixing calcium chloride into water (which makes an exothermic reaction). Then they can create cold packs by mixing ammonium nitrate into water (which creates an endothermic reaction).
I’ve found that this experiment is best with film canisters because students become quickly enthralled with their cold and hot packs, rubbing them against their skin and shaking the reactions. When you use plastic baggies, this becomes dangerous because the baggies can rip. That is why I prefer to use film canisters that seal entirely shut.
This cold versus hot pack experiment allows students to visualize the energy flow in a system tangibly. Using extreme examples when you teach energy conservation laws is essential because when students see chemical reactions later in the school year, it’s not always easy to tell which way energy flows in the system. But when students make hot and cold packs, not only do they remember the lab (practically forever), but it becomes easy for students to see that energy either goes into or out of a system when a reaction occurs.
Challenge students' misconceptions
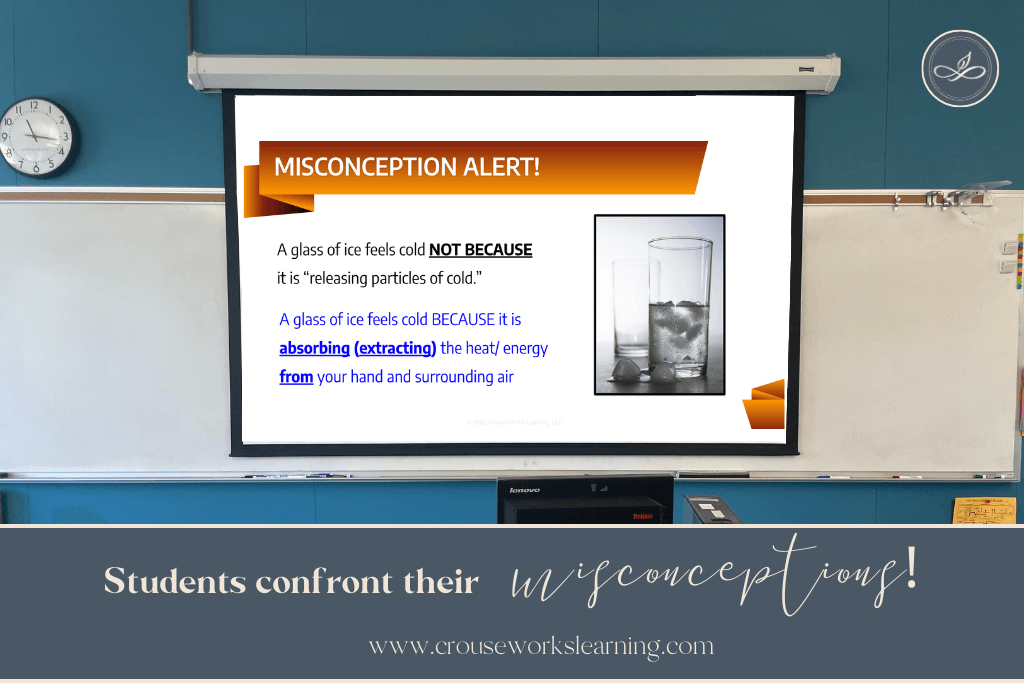
Not to mention the experiment with hot and cold packs also helps students face some misconceptions they have about energy flow.
One of the biggest misconceptions I see students have is that cold things are cold because they release cold particles. In other words, if you ask students why ice feels cold, they say it releases cold energy. After this experiment with hot and cold packs, students now understand that ice feels cold because it absorbs (extracts) heat from their hands.
There's so many experiments students can try
Another experiment I like is to have students create a homemade calorimeter to determine the energy content (i.e., calorie count) of a cheeto.
This experiment is also really simple. All you need is a cheeto, an aluminum can, a lighter, a ring stand, and a thermometer. For this experiment, students burn a cheeto under a hanging aluminum can filled with water. Students then observe how the heat energy transfers from the cheeto to the water above. The more energy the cheeto contains, the hotter the water will become. Students then measure this energy transfer with a thermometer and perform specific energy calculations to determine the initial energy contained in the cheeto.
This is a great experiment because it shows students how energy is transferred and is an excellent connection to a lesson they learned previously on the matter conservation law (i.e., closed versus open systems). And now, they are learning how energy flows in an open versus isolated system.
Side note: If you have yet to consider teaching the matter conservation law right before the energy conservation laws, I highly recommend it! Both topics provide valuable lessons on open, closed, and isolated systems.
Click here for more information on how I teach the matter conservation law in my wildfire unit.
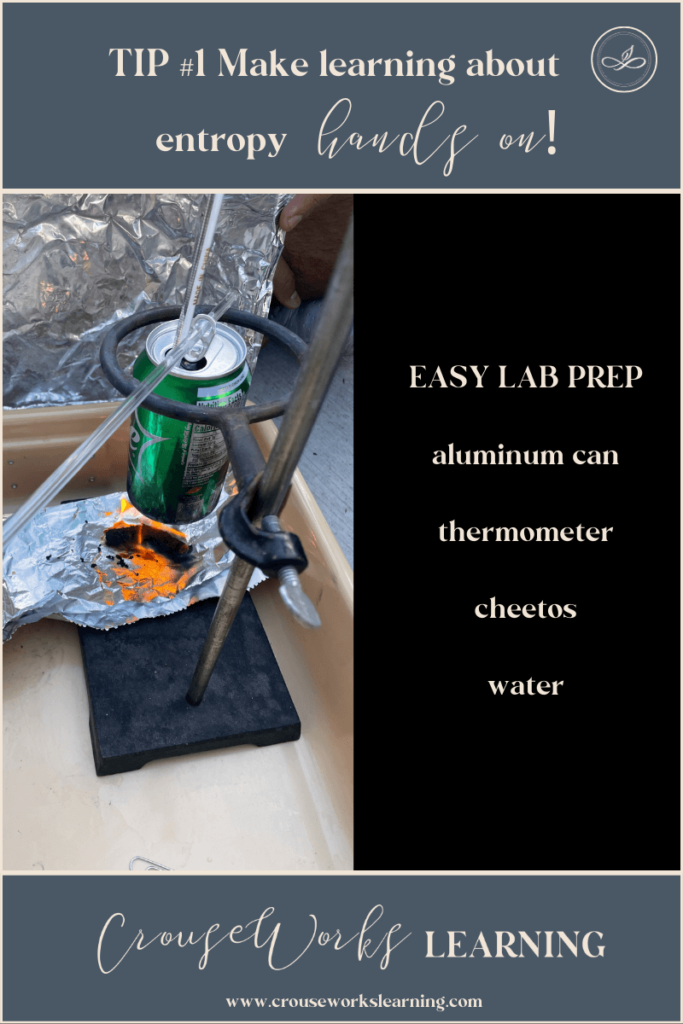
In this calorimetry experiment, students see that the energy (heat) contained in the cheeto is not destroyed, but rather it transfers to the water in the aluminum can (as measured by the thermometer). This leads to a class discussion on the first law of thermodynamics.
Students also see that a lot of energy is wasted because heat is lost to the air (due to being an open system). This also leads to a class discussion on the second laws of thermodynamics (and entropy).
This singular experiment is excellent because it covers thermodynamics’ first and second laws. It manages to teach students enthalpy and entropy, all rolled into one!
TIP #2: Take advantage of phenomena when you roll out the energy conservation laws
I used to, as a chemistry teacher, only teach students about endothermic and exothermic reactions, and that was it. We didn’t go into calculations for energy flow. I gave them only the slightest glimpse of energy diagrams and activation energy. And most importantly, I stayed as far away as possible from even the slightest whiff of entropy!
But in recent years, I’ve actually had a change of heart. I have found real beauty in teaching enthalpy and entropy- especially together. They are really yin and yang in chemistry and can explain so much.
For example, I have my students complete a unit on wildfires at the beginning of the school year. Wildfires are a great example of a spontaneous reaction. They show a decrease in enthalpy (exothermic) and an increase in entropy, which makes them the perfect phenomenon to study.
The premise of the unit is “Why do wildfires spread so quickly?” We all know that climate change is increasing global temperatures, and this causes wildfires to occur more frequently.
But, fundamentally, wildfires also spread quickly on a chemical level because they are highly spontaneous reactions. They are incredibly spontaneous reactions because they release much more energy than they absorb. Additionally, the molecules spread out, which is more energetically favorable.
So, I like to emphasize to students that there is much more to wildfires spreading quickly than climate change.

TIP #3: Be strategic when you teach the math behind the energy conservation laws
Every year, I dreaded teaching energy conservation laws because of the math. Many students have a delicate relationship with math. Students often walk into chemistry dreading the class because they believe chemistry involves a lot of math and automatically assume they will not be successful.
Because of this, for years, I assumed students would not be able to handle the math involved in enthalpy and entropy.
However, a few years ago, when I began turning my chemistry units into storylines, I realized I couldn’t avoid the math of enthalpy and entropy forever.
So… I gave in…
In these storyline units, I decided to teach not just the conceptual basis for enthalpy and entropy to students… but also the dreaded math calculations…
And do you know what I discovered when I gave in?
To my astonishment, with the right scaffolds, students in my general chemistry classes did exceedingly well with the calculations!
In fact, it built up students’ confidence in math so much that I couldn’t imagine teaching my first unit without these lessons now!
The best way to break down the math behind enthalpy is by creating simple, step-by-step practice problems like this:
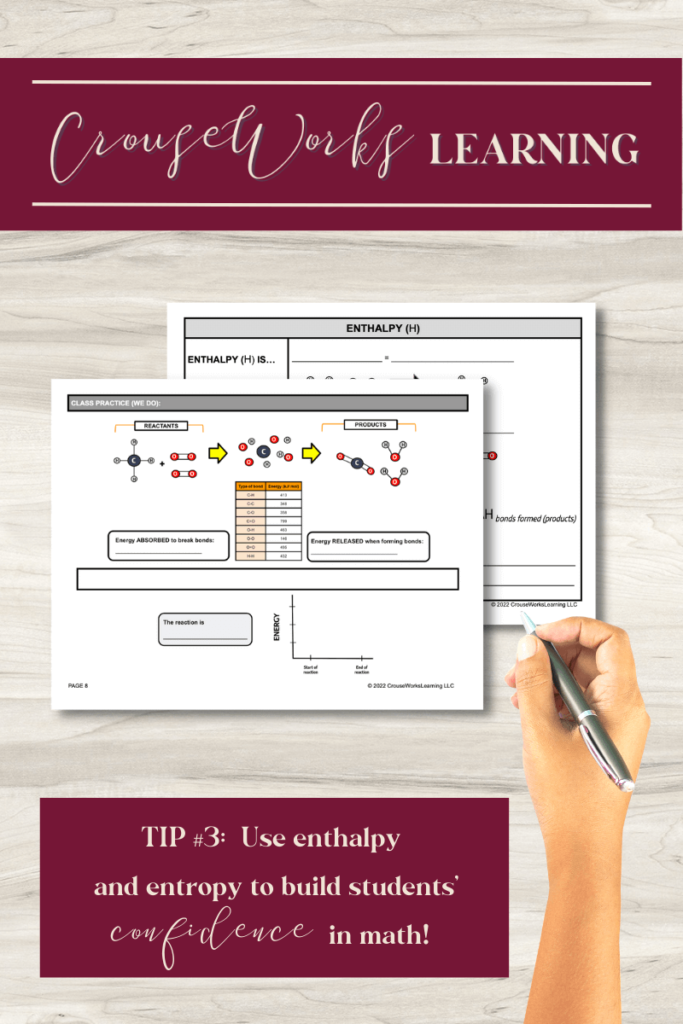
With these practice problems, students see very clearly the inputs and outputs of energy in a system. They can clearly see that chemical bonds contain energy. And they can see that when bonds break, energy is released, and when bonds form, energy is absorbed.
My students have gained so much from these lessons on enthalpy and entropy that this past year I even dared try to tackle Gibbs’ Free Energy! I know, right?! The sky’s the limit.
To wrap up...
As a teacher, I avoided enthalpy and entropy for years because I thought my students couldn’t handle these topics.
But a few years ago, I took a risk as a teacher and embarked on a deep dive into energy conservation laws. And not only was it conceptually more straightforward than I had made it out to be, but it also turned into an exciting and confidence-boosting experience for students!
If you haven’t considered starting the year with the energy conservation laws, I hope this blog has given you the confidence boost to try them!

Excited to teach the conservation energy laws, but wondering how to go about it?
Check out this resource which includes:
- An easy-to-set-up lab
- Text analysis
- Video lecture and guided practice
- Real-world application
Looking for more tips and tricks on how to get students motivated at the start of the school year in chemistry?
Check out this beginning-of-the-year NGSS phenomenon-based unit on wildfires (click here)